モチベーション
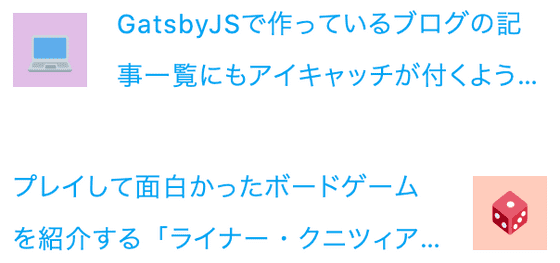
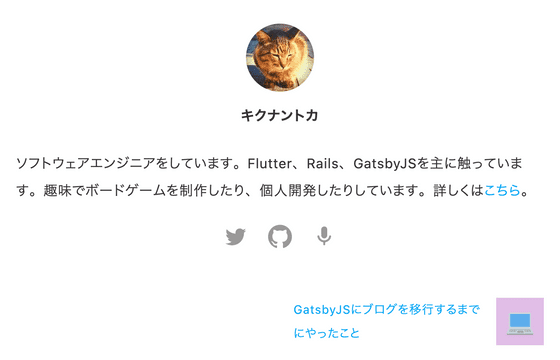
前の記事、次の記事の部分がスターターのスタイルのままになっていて、手を付けられていなかったので、スタイルを当てていい感じにしたかった。
Before

After

デザイン
今回もアイキャッチコンポーネントを組み合わせるデザインとした。前の記事は左側に、次の記事は右側にアイキャッチが来るようにして前と次を表現した。
アイキャッチコンポーネントが汎用性が高く、記事のリンクを張る際に使いやすいので、用意しておいて良かった。
GatsbyJSで作っているブログでアイキャッチが自動でいい感じに付くようにした
やったこと
まず、アイキャッチコンポーネントに渡す記事に紐づくタグ一覧が、前の記事、次の記事に関しては取得できていなかったので、 gatsby-node.js のGraphQLのクエリにtagsを追加して取れるようにした。
そして、下記のような PreviousAndNextPosts というコンポーネントを作った。デザインは基本的にMaterial-UIのGridで組むようにした。
/src/components/previous_and_next_posts.js
import { Grid } from "@material-ui/core"
import { Link } from "gatsby"
import React from "react"
import EyeCatch from "./eye_catch"
import styles from "./previous_and_next_posts.module.sass"

const PreviousAndNextPosts = ({ previous, next }) => (
  <Grid
    container
    spacing={4}
    direction="row"
    justify={previous ? "space-between" : "flex-end"}
    alignItems="flex-start"
  >
    {previous && (
      <Grid item xs={12} sm={6}>
        <Link to={previous.fields.slug} rel="prev">
          <Grid
            container
            spacing={2}
            direction="row"
            justify="space-between"
            alignItems="center"
          >
            <Grid item>
              <EyeCatch tags={previous.frontmatter.tags} />
            </Grid>
            <Grid item xs>
              <p className={styles.title}>{previous.frontmatter.title}</p>
            </Grid>
          </Grid>
        </Link>
      </Grid>
    )}
    {next && (
      <Grid item xs={12} sm={6}>
        <Link to={next.fields.slug} rel="next">
          <Grid
            container
            spacing={2}
            direction="row"
            justify="space-between"
            alignItems="center"
          >
            <Grid item xs>
              <p className={styles.title}>{next.frontmatter.title}</p>
            </Grid>
            <Grid item>
              <EyeCatch tags={next.frontmatter.tags} />
            </Grid>
          </Grid>
        </Link>
      </Grid>
    )}
  </Grid>
)

export default PreviousAndNextPosts
Gridによってスマホ向けの制御を入れており、スマホだと画面幅が狭いので、左右ではなく、下記のように二段で表示されるようにした。

また、工夫点としては、親のGridのjustifyの記述を下記のようにすることで、一番最初の記事を開いた時に次の記事が右側に来るように制御を入れた。
<Grid
  container
  spacing={4}
  direction="row"
  justify={previous ? "space-between" : "flex-end"}  alignItems="flex-start"
>
こんな感じになる。

おわりに
デザインを当てたいところは大体当たってきたので、いい感じ。続いて404画面とかに手を入れていきたい。
